What you will need:
SK Cocoa Powder Extra Brute: 70g(2½oz)
Instant coffee: 1tsp
Boiling water: 8tbsp
Unsalted butter: 135g (4¾oz), softened
Light brown sugar: 90g (3oz)
Caster sugar: 280g (9¾oz)
Eggs: 4, large
SK Professional Self Raising Flour: 235g
(8¼oz)
SK Baking Powder: 1½tsp
Salt: ½tsp
Buttermilk: 30ml (2tbsp)
Milk: 40ml (2¾tbsp)
Decoration
Buttercream: 250g (8¾oz)
SK Chocolate Ganache Mix: 250g (8¾oz)
SK Ready-Tempered Isomalt: 25g (>¾oz)
Red, 25g (>¾oz) Orange and 25g (>¾oz) Yellow
Chocolate sticks, Chocolate curls, Chocolate sprinkles

Making the chocolate cake:
1 Preheat your oven to 180?C (350?F/ Gas Mark 4). Line and grease three 15cm (6") deep sandwich tins.
2 Blend the cocoa powder, boiling water and instant coffee together in a bowl and allow to cool slightly.
3 Fit your stand mixer with a beater attachment. Cream the butter and sugars together in a stand mixer on a medium speed until you achieve a light and fluffy consistency. This should take about three minutes. If you don’t have a stand mixer, you can use an electric hand mixer instead.
4 Add the cooled chocolate mixture to the butter and sugar, and then mix until thoroughly combined.
5 In another bowl, combine the flour, baking powder and salt together.
6 In a new small bowl, use a fork to beat your eggs. Add half of the beaten egg and half of the flour mix to your chocolate mixture, and then mix on a low speed until just combined. Repeat until all the egg and flour is incorporated into the mixture.
7 Combine the buttermilk and milk together and add it to your mixture. Mix on a medium speed for about 20 seconds until all combined.
8 Evenly distribute the mix into your prepared tins and bake in the oven for 35 minutes, or until a skewer in inserted in the centre comes out clean.
9 Allow to cool for a couple of minutes in the tins, then turn out onto a wire rack to cool completely.
10 Wrap each sponge in cling film and allow to rest (ideally overnight) before levelling, stacking and decorating.
Top Tip: 1) Buttermilk: only use a small amount, it makes the sponge velvety smooth once it’s baked, and does a great job at keeping the sponge moist for days afterwards. 2) Instant Coffee: This won’t make your sponge taste like coffee, but it will bring out the flavours of the chocolate, creating a richer, more indulgent taste. 3) Blooming Your Cocoa: Another technique for developing the chocolate flavours to their fullest. Simply mix the cocoa with boiling water before adding to your mixture.

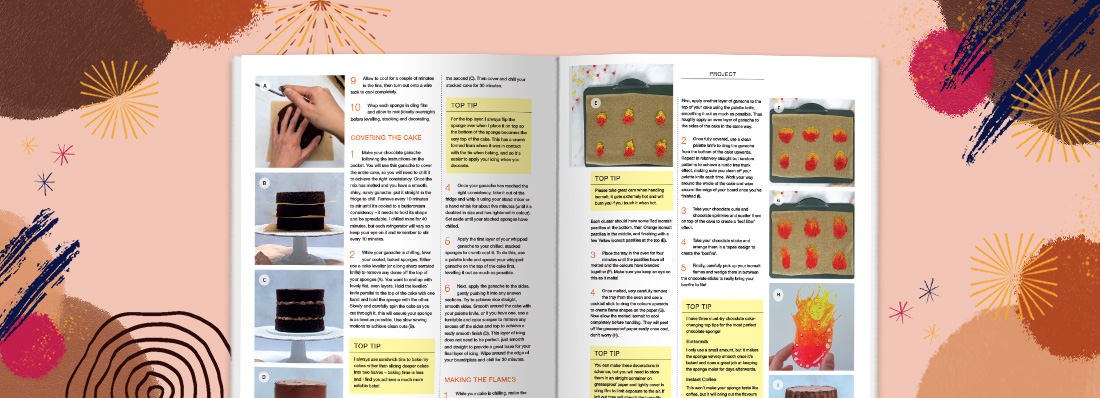
Top tip: 1) Always use sandwich tins to bake my cakes rather than slicing deeper cakes into two halves – baking time is less and I find you achieve a much more reliable bake. 2: For the top layer, I always flip the sponge over when I place it on top so the bottom of the sponge becomes the very top of the cake. This has a crumb formed from where it was in contact with the tin when baking, and is easier to apply your icing to when you decorate. 3: Please take great care when handling isomalt; it gets extremely hot and will burn you if you touch it when hot. 4: You can make these decorations in advance, however store them in an airtight container on greaseproof paper and lightly cover in clingfilm to limit exposure to the air. If left out they will absorb the humidity in the air, become sticky and lose their lovely glossy shine.
Perfect for both beginners and experienced cake decorators, why not susbcribe to Cakes & Sugarcraft magazine from just £25.60 today to never miss a future issue!
